


Imagine sinking your fork into a creamy, dreamy dessert where the rich cocoa notes of red velvet collide head-on with the iconic crunch of Oreos, all nestled in a decadent cheesecake embrace. This Red Velvet Oreo Cheesecake isn’t just a dessert; it’s a party in your mouth, a symphony of flavors dancing on your tongue.
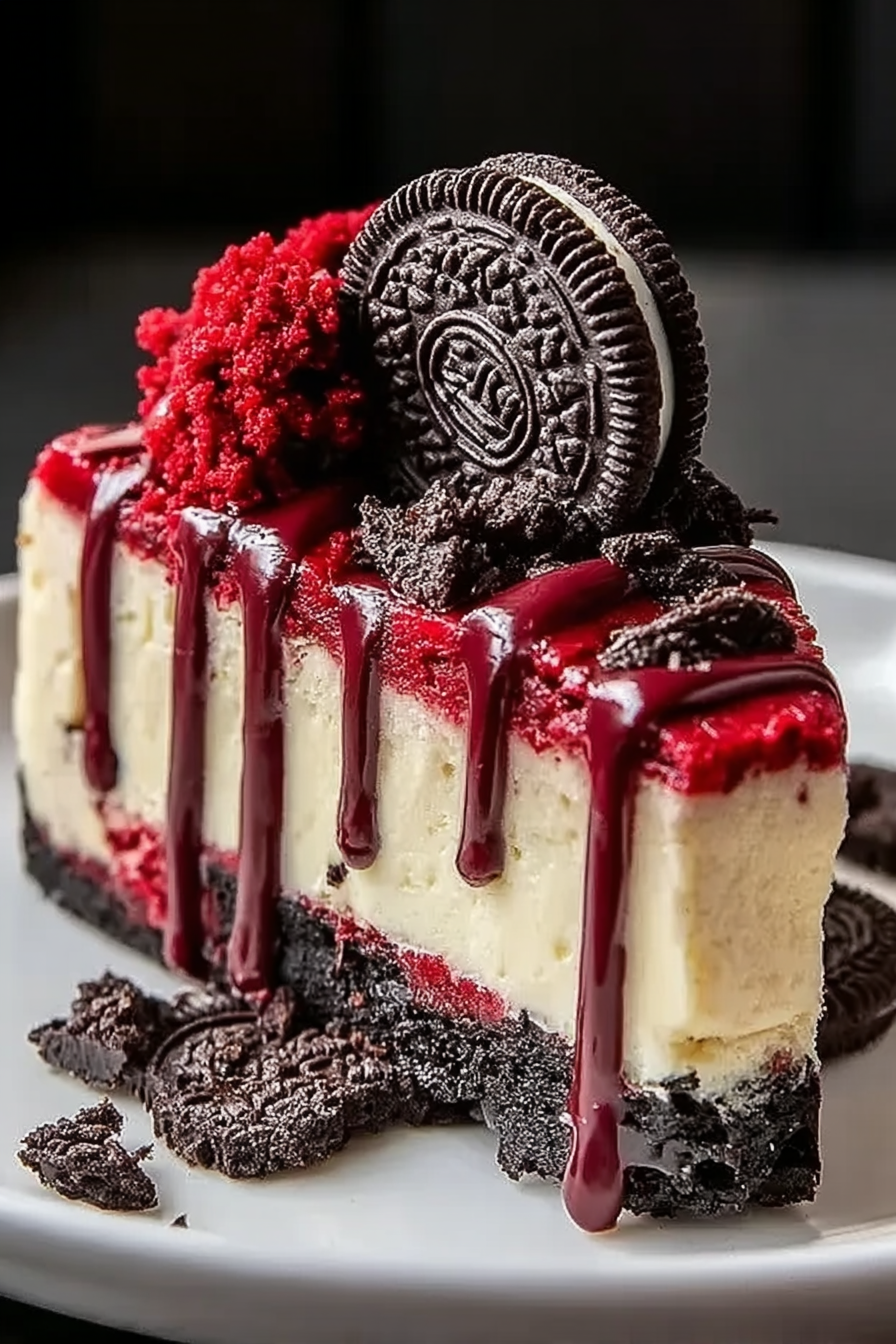
Picture this: a slice of pure happiness, a vibrant red hue peeking out from under a mountain of whipped cream, studded with Oreo crumbs. It’s the perfect dessert to make any day feel like a celebration! It’s so good, it will make you want to slap yo mama! (Please don’t actually slap your mom).
Here’s why you absolutely NEED this Red Velvet Oreo Cheesecake in your life:
- Effortless Elegance: Surprisingly simple to make, this cheesecake delivers a show-stopping dessert without requiring hours in the kitchen.
- Flavor Explosion: The tangy cheesecake filling, combined with the slight cocoa notes from red velvet and the Oreo crunch, is a taste bud fiesta.
- Visually Stunning: Its vibrant color and delightful Oreo accents make it a dessert that’s as beautiful to look at as it is delicious to eat.
- Crowd-Pleasing Perfection: Whether it’s a birthday bash, a holiday gathering, or just a Tuesday night, this cheesecake is guaranteed to disappear fast.
Ingredients for Red Velvet Oreo Cheesecake
Here’s what you’ll need to make this delicious dish:
The full ingredients list, including measurements, is provided in the recipe card directly below.
How to Make Red Velvet Oreo Cheesecake
Follow these simple steps to prepare this delicious dish:
Step 1: Prepare the Oreo Crust
Crush the Oreo cookies in a food processor or by placing them in a ziplock bag and crushing them with a rolling pin. Mix the crushed Oreos with melted butter until well combined. Press the mixture firmly into the bottom of a springform pan to create the crust.
Step 2: Mix the Cheesecake Filling
In a large bowl, beat the softened cream cheese and sugar until smooth and creamy. Add the eggs one at a time, mixing well after each addition. Stir in the Alcohol-free vanilla extract and sour cream until just combined.
Step 3: Add the Red Velvet Magic
Prepare the red velvet cake mix according to the package directions. Gently fold the prepared red velvet batter into the cheesecake mixture until just combined, being careful not to overmix.
Step 4: Assemble and Bake
Pour the red velvet cheesecake filling over the Oreo crust. Bake in a preheated oven at 325°F (160°C) for 55-65 minutes, or until the center is almost set. Turn off the oven and let the cheesecake cool inside with the door slightly ajar for an hour to prevent cracking.
Step 5: Chill and Decorate
Once cooled, cover the cheesecake and refrigerate for at least 4 hours, or preferably overnight, to allow it to set completely. Before serving, melt white chocolate chips and drizzle over the top. Garnish with additional Oreo cookie pieces.
Step 6: Serve and Enjoy!
Carefully remove the cheesecake from the springform pan. Slice and serve this showstopping dessert. Prepare for rave reviews and empty plates! This Red Velvet Oreo Cheesecake is best served chilled.
Perfecting the Cooking Process
To nail this magnificent Red Velvet Oreo Cheesecake, start by prepping your crust and filling ingredients. Then, bake the cheesecake at a low temperature to prevent cracks, and chill it thoroughly for the best texture and flavor. Patience is key!
Add Your Touch
Want to jazz things up? Try adding a hint of cocoa powder to the cheesecake filling for a deeper chocolate flavor. Alternatively, swirl in some raspberry preserves for a fruity twist that complements the red velvet beautifully. Get creative!
Storing & Reheating
Store your Red Velvet Oreo Cheesecake in the refrigerator, covered, for up to 5 days. While it’s best enjoyed cold, you can let individual slices sit at room temperature for 15-20 minutes before serving to soften slightly and enhance the flavor.
Here are some helpful tips to elevate your Red Velvet Oreo Cheesecake game:
- Make sure your cream cheese is at room temperature. This will ensure a smooth and lump-free cheesecake filling that’s irresistible.
- Don’t overbake the cheesecake! A slight wobble in the center is perfect; it will firm up as it cools, guaranteeing the perfect texture.
- Press the Oreo crust firmly into the pan for a sturdy base that holds up to the rich filling, creating the ultimate Oreo experience.
(Personal anecdote formated as paragraph subheading)
The first time I made this, my friends devoured it so fast, I barely got a piece. The crumbs? Gone. The compliments? Endless. I knew then it was a winning recipe.
Let’s dive into the wonderful world of **Red Velvet Oreo Cheesecake**. This isn’t just a dessert; it’s a declaration of deliciousness, a symphony of flavors that will have your taste buds singing an operatic aria. Forget that boring Tuesday night; this cheesecake is an event!
Why This Red Velvet Oreo Cheesecake is a Culinary Masterpiece
Okay, let’s be honest. Why settle for regular cheesecake when you can have a Red Velvet Oreo Cheesecake? This beauty combines the classic tang of cheesecake with the irresistible allure of red velvet cake and the crunchy goodness of Oreos. It’s like a party in your mouth, and everyone’s invited. The creamy texture, the striking red color, and the chocolatey crunch – it’s a sensory explosion! This cheesecake is the perfect dessert to impress your family and friends at your next celebration. It’s a showstopper that is easy to make and incredibly delicious. Trust me, once you make this cheesecake, you’ll never go back to plain old cheesecake again.
Plus, it’s surprisingly easy to make. Don’t let the fancy name intimidate you. We’re talking about a simple Oreo crust, a creamy red velvet filling, and maybe a few extra Oreos for garnish because why not? This recipe is foolproof, even if your baking skills are more “nailed it” than “chef extraordinaire.” It’s the ultimate dessert for showing off without breaking a sweat.
Ingredients for Your Red Velvet Oreo Cheesecake Adventure
Alright, gather ’round, ingredient enthusiasts! Here’s what you’ll need for this culinary quest:
- **For the Oreo Crust:**
- 25 Oreo cookies (because let’s face it, you’ll sneak a few)
- 6 tablespoons of melted unsalted butter (the glue that holds our dreams together)
- **For the Red Velvet Cheesecake Filling:**
- 32 ounces of cream cheese, softened (the heart and soul of cheesecake)
- 1 1/2 cups granulated sugar (sweetness is key)
- 1 teaspoon Alcohol-free vanilla extract (a touch of magic)
- 1/2 cup sour cream (for that tangy goodness)
- 4 large eggs (the binders of happiness)
- 2 tablespoons unsweetened cocoa powder (for that rich, chocolatey depth)
- 1 teaspoon red food coloring (gel is best for vibrant color)
- 1 tablespoon vinegar (for that signature red velvet tang)
- 1 teaspoon baking soda (the secret ingredient)
- **For the Garnish (Optional, but Highly Recommended):**
- Crushed Oreos (because more is more)
- Whipped cream (a cloud of delight)
Make sure your cream cheese is softened. This is not negotiable. Trying to mix cold cream cheese is like wrestling a grumpy bear. It will resist, it will be lumpy, and you’ll end up questioning your life choices. Softened cream cheese is your friend.
Step-by-Step Guide to Red Velvet Oreo Cheesecake Glory
Alright, let’s get down to business. Here’s how to turn those ingredients into a cheesecake masterpiece.
Crafting the Oreo Crust
1. **Oreo Obliteration: ** In a food processor, pulse the Oreo cookies until they’re fine crumbs. If you don’t have a food processor, a ziplock bag and a rolling pin will do the trick. It’s a great stress reliever, too!
2. **Buttery Bliss: ** Combine the Oreo crumbs with the melted butter until evenly moistened. The mixture should resemble wet sand.
3. **Press It Good: ** Press the Oreo mixture firmly into the bottom of a 9-inch springform pan. Use the bottom of a measuring cup to ensure an even and compact crust. This is crucial for a sturdy base.
4. **Chill Out: ** Place the crust in the freezer for 15-20 minutes to set while you prepare the filling. This will prevent it from crumbling when you pour in the cheesecake batter.
Whipping Up the Red Velvet Cheesecake Filling
1. **Cream Cheese Dream: ** In a large bowl, beat the softened cream cheese and sugar together until smooth and creamy. This may take a few minutes, so be patient. No one likes a lumpy cheesecake.
2. **Vanilla Vibes: ** Add the Alcohol-free vanilla extract and sour cream, and beat until just combined. Don’t overmix, or you’ll incorporate too much air, which can cause the cheesecake to crack.
3. **Egg-cellent Addition: ** Add the eggs one at a time, beating well after each addition. Again, don’t overmix. We’re aiming for smooth, not fluffy.
4. **Red Velvet Magic: ** In a small bowl, whisk together the cocoa powder, red food coloring, vinegar, and baking soda. This mixture will fizz, which is exactly what you want. It’s science!
5. **Combine with Care: ** Add the red velvet mixture to the cream cheese mixture, and beat until just combined. Be careful not to overmix.
6. **Pour and Prepare: ** Pour the cheesecake filling over the prepared Oreo crust, spreading it evenly. Tap the pan gently on the counter to release any air bubbles.
Baking Your Red Velvet Oreo Cheesecake to Perfection
1. **Water Bath Wisdom: ** Wrap the bottom of the springform pan in aluminum foil to prevent water from seeping in. Place the pan in a larger baking pan, and add hot water to the larger pan until it reaches about halfway up the sides of the springform pan. This creates a humid environment that helps the cheesecake bake evenly and prevents cracking.
2. **Bake with Love: ** Bake in a preheated oven at 325°F (160°C) for 60-75 minutes, or until the edges are set and the center is slightly wobbly. Remember, a little wobble is good. It means it’s perfectly creamy.
3. **Cooling is Key: ** Turn off the oven and let the cheesecake cool in the oven with the door slightly ajar for 1 hour. This allows the cheesecake to cool gradually, preventing cracks.
4. **Chill Out (Again): ** Remove the cheesecake from the water bath and let it cool completely on a wire rack. Then, cover it and refrigerate for at least 4 hours, or preferably overnight. This is crucial for the cheesecake to set properly and develop its full flavor.
Garnishing and Serving Your Masterpiece
1. **Release the Beast: ** Carefully remove the cheesecake from the springform pan. Run a thin knife around the edges to loosen it if necessary.
2. **Garnish Like a Pro: ** Top the cheesecake with crushed Oreos and whipped cream, if desired. Get creative! Drizzle with chocolate sauce, add fresh berries, or sprinkle with edible glitter. The sky’s the limit!
3. **Slice and Serve: ** Slice the cheesecake with a warm, damp knife for clean cuts. Serve and enjoy the blissful reactions of your delighted guests.
Troubleshooting Your Red Velvet Oreo Cheesecake
Even the best bakers encounter mishaps. Here’s how to handle common cheesecake woes:
- **Cracked Cheesecake:** This is usually caused by baking at too high a temperature or cooling the cheesecake too quickly. A water bath helps prevent this, as does gradual cooling. If your cheesecake does crack, don’t panic! Frosting or garnish can easily cover it up.
- **Lumpy Filling:** This is usually caused by using cold cream cheese. Make sure your cream cheese is softened to room temperature before using it.
- **Soggy Crust:** This is usually caused by moisture seeping into the crust. Wrapping the springform pan in aluminum foil and using a water bath can help prevent this.
Variations on a Theme: Red Velvet Oreo Cheesecake Remixes
Want to get a little wild? Here are some fun variations to try:
- **Mini Red Velvet Oreo Cheesecakes:** Use muffin tins lined with cupcake liners for individual cheesecakes. Reduce the baking time accordingly.
- **Red Velvet Oreo Cheesecake Bars:** Bake the cheesecake in a square baking pan and cut it into bars. These are perfect for parties or potlucks.
- **Red Velvet Oreo Cheesecake Parfaits:** Layer crushed Oreos, cheesecake filling, and whipped cream in parfait glasses for a quick and easy dessert.
The possibilities are endless! Don’t be afraid to experiment and make this Red Velvet Oreo Cheesecake your own.
Frequently Asked Questions About Red Velvet Oreo Cheesecake
- **Can I make this cheesecake ahead of time?** Absolutely! In fact, it’s recommended. The cheesecake needs to chill for at least 4 hours, or preferably overnight, to set properly.
- **Can I freeze this cheesecake?** Yes, you can. Wrap the cheesecake tightly in plastic wrap and then in aluminum foil. Freeze for up to 2 months. Thaw in the refrigerator overnight before serving.
- **Can I use a different type of cookie for the crust?** Of course! While Oreos are the classic choice, you could also use chocolate graham crackers or any other cookie that you enjoy.
Why You Need This Red Velvet Oreo Cheesecake in Your Life
Let’s face it, life is too short for boring desserts. This Red Velvet Oreo Cheesecake is not just a dessert; it’s an experience. It’s a celebration of flavor, texture, and all things delicious. It’s the perfect way to impress your friends, spoil your family, or simply treat yourself. So go ahead, grab those ingredients, and get baking! Your taste buds will thank you. And who knows? You might just become the Red Velvet Oreo Cheesecake champion of your neighborhood.
Conclusion for Red Velvet Oreo Cheesecake
This Red Velvet Oreo Cheesecake is a showstopper that combines the best of both worlds: the tangy richness of classic cheesecake and the playful indulgence of red velvet and Oreos. With its vibrant color, creamy texture, and irresistible flavor, it’s sure to impress at any gathering. Remember the tips for avoiding cracks and achieving clean slices, and don’t be afraid to get creative with your garnishes! Most importantly, have fun and enjoy the process of creating this amazing dessert.
Print
Red Velvet Oreo Cheesecake
Delicious red velvet oreo cheesecake recipe with detailed instructions and nutritional information.
- Total Time: 35 minutes
- Yield: 4 servings 1x
Ingredients
- 24 Oreo cookies, divided
- 4 tablespoons unsalted butter, melted
- 16 ounces cream cheese, softened
- 1 cup granulated sugar
- 1 teaspoon vanilla extract
- 2 large eggs
- 1/4 cup sour cream
- 2 tablespoons red food coloring
Instructions
- Step 1: Preheat oven to 350°F (175°C). In a food processor, pulse 16 Oreo cookies into fine crumbs. Mix crumbs with melted butter and press into the bottom of a 9-inch springform pan to create the crust.
- Step 2: Bake crust for 10 minutes. Remove from oven and let cool slightly.
- Step 3: In a large bowl, beat cream cheese and sugar until smooth and creamy. Mix in vanilla extract, then beat in eggs one at a time, followed by the sour cream and red food coloring.
- Step 4: Roughly chop the remaining 8 Oreo cookies and gently fold them into the cheesecake batter.
- Step 5: Pour the cheesecake batter over the cooled crust. Bake for 50-60 minutes, or until the center is just slightly wobbly.
- Step 6: Turn off the oven and let the cheesecake cool in the oven with the door slightly ajar for 1 hour. Then, refrigerate for at least 4 hours, or preferably overnight, before serving.
Notes
- To prevent cracking, place a pan of water on the lower rack of the oven while baking.
- For the best flavor, let the cheesecake sit at room temperature for about 15-20 minutes before slicing and serving.
- Store leftovers tightly wrapped in the refrigerator for up to 3 days; freezing is not recommended.
- Gently tap the springform pan on the counter before baking to release any trapped air bubbles in the batter for a smoother texture.
- Prep Time: 15 minutes
- Cook Time: 20 minutes
- Method: Stovetop
- Cuisine: American
FAQs
Can I make Red Velvet Oreo Cheesecake ahead of time?
Absolutely! In fact, I highly encourage it. This Red Velvet Oreo Cheesecake is even better the next day (or even the day after that, if it lasts that long!). The flavors meld together beautifully as it chills in the refrigerator, resulting in an even richer and more decadent experience. Just make sure to wrap it tightly to prevent it from drying out or absorbing any rogue fridge odors. Consider it a gift to your future self – a delicious, stress-free dessert waiting for you. I promise, your patience will be rewarded.
What’s the best way to prevent cracks in my cheesecake?
Ah, the dreaded cheesecake crack! The bane of every baker’s existence. Don’t worry, I’ve got some tricks up my sleeve. First, try a water bath. Wrapping the bottom of your springform pan in foil and placing it in a larger pan filled with hot water creates a humid environment in the oven, which helps the cheesecake bake evenly. Also, avoid overbaking! A slight jiggle in the center is perfectly fine; the cheesecake will continue to set as it cools. Finally, let it cool slowly in the oven with the door ajar to prevent a sudden temperature change.
How do I get a clean slice of Red Velvet Oreo Cheesecake?
Nobody wants a mangled cheesecake slice! For a clean cut, chill the cheesecake thoroughly. Then, run a long, thin knife under hot water and wipe it dry before each slice. The heat helps to glide through the cheesecake smoothly. You can also use dental floss (unflavored, of course!) for a super clean cut. Simply wrap the floss around the base of the cheesecake and pull it through. This method is especially helpful for cheesecakes with a lot of mix-ins, like our glorious Red Velvet Oreo creation.
Can I substitute the cream cheese in this cheesecake recipe?
While I always recommend using full-fat cream cheese for the richest, most decadent results, you *can* substitute it with a reduced-fat version if you’re feeling virtuous. Just be aware that the texture of the cheesecake will be slightly different – it may be a bit less creamy and slightly firmer. I wouldn’t recommend using fat-free cream cheese, as it can result in a dry and crumbly cheesecake. So, weigh your options carefully: indulgence or slight calorie savings? The choice is yours!


Leave a Comment