

Greek Yogurt Brownies: A Guilt-Free Indulgence That Will Make You Smile!
Imagine biting into a fudgy, rich brownie that feels like a hug from the inside. Now, picture that same brownie being guilt-free because it’s packed with Greek yogurt! This delightful treat is perfect for those moments when you crave something sweet but want to keep it on the healthier side. These Greek Yogurt Brownies are not just a dessert; they’re a celebration of flavors and textures that will leave your taste buds dancing. With their moist interior and chocolaty goodness, you’ll be coming back for seconds—just don’t forget to share!
- Healthier than traditional brownies, thanks to Greek yogurt replacing oil and butter.
- Rich in protein, making them a satisfying snack option for any time of day.
- Quick and easy to make, requiring just one bowl for minimal cleanup.
- Customizable with various add-ins like nuts or chocolate chips for extra flair.
Ingredients
- Greek Yogurt: This creamy ingredient replaces butter or oil, offering moisture without the added fat.
- Cocoa Powder: Choose unsweetened cocoa powder for rich chocolate flavor without excess sugar.
- Baking Powder: Essential for helping the brownies rise and achieve that perfect texture.
- Granulated Sugar: Provides sweetness; feel free to adjust based on your preference or use alternatives.
- Eggs: Vital for binding the ingredients together; large eggs work best in this recipe.
- Vanilla Powder: Adds depth of flavor; opt for pure vanilla powder if possible.
- Flour: All-purpose flour gives structure; you can substitute with whole wheat flour for added fiber.
- Nuts or Chocolate Chips (optional): Add these if you want a little extra crunch or sweetness in every bite!
Instructions
Step 1: Preheat Your Oven
Start by preheating your oven to 350°F (175°C). This ensures an even bake and helps your brownies rise beautifully. While that’s heating up, grab an 8×8-inch baking dish and grease it lightly or line it with parchment paper for easy removal later on.
Step 2: Mix the Wet Ingredients
In a large mixing bowl, combine the Greek yogurt, granulated sugar, eggs, and vanilla powder. Whisk these ingredients together until they are smooth and creamy. The yogurt should blend seamlessly with the other wet ingredients, creating a luscious base full of potential!
Step 3: Incorporate Dry Ingredients
Add in the cocoa powder, flour, baking powder, and a pinch of salt to the wet mixture. Stir until just combined; be careful not to overmix! You want those ingredients to come together harmoniously without losing their fluffy texture. If you’re adding nuts or chocolate chips, fold them in gently at this stage.
Step 4: Bake to Perfection
Pour the brownie batter into your prepared baking dish and spread it evenly. Bake in your preheated oven for approximately 25-30 minutes. To check if they’re done, insert a toothpick into the center—if it comes out clean or with just a few moist crumbs attached, they’re ready!
Step 5: Cool and Slice
Once baked, remove your brownies from the oven and let them cool in the pan on a wire rack. After about 10-15 minutes, transfer them to a cutting board and slice them into squares. This cooling step is crucial as it allows the flavors to settle and makes slicing easier without crumbling!
Enjoy these delectable Greek Yogurt Brownies as a midday snack or dessert after dinner. They pair wonderfully with fresh fruit or can be enjoyed plain—either way, each bite will bring joy!
Perfecting the Cooking Process

To achieve the best results when making Greek Yogurt Brownies, start by preheating your oven and preparing your baking dish. Mixing wet ingredients first ensures even distribution of flavors before incorporating dry ingredients for a smooth batter.
Add Your Touch
Customize your Greek Yogurt Brownies by adding nuts, chocolate chips, or dried fruit. Experiment with different flavorings like vanilla powder or spices such as cinnamon for a unique twist.
Storing & Reheating
Store leftover brownies in an airtight container at room temperature for up to three days. For longer storage, keep them in the refrigerator. To reheat, microwave for a few seconds until warm and enjoy!
Expert Tips for Success
- Use full-fat Greek yogurt for a richer flavor and creamier texture in your brownies.
- Don’t overmix the batter; this can lead to dense brownies instead of fudgy ones.
- Allow the brownies to cool completely before cutting; this helps maintain their shape.
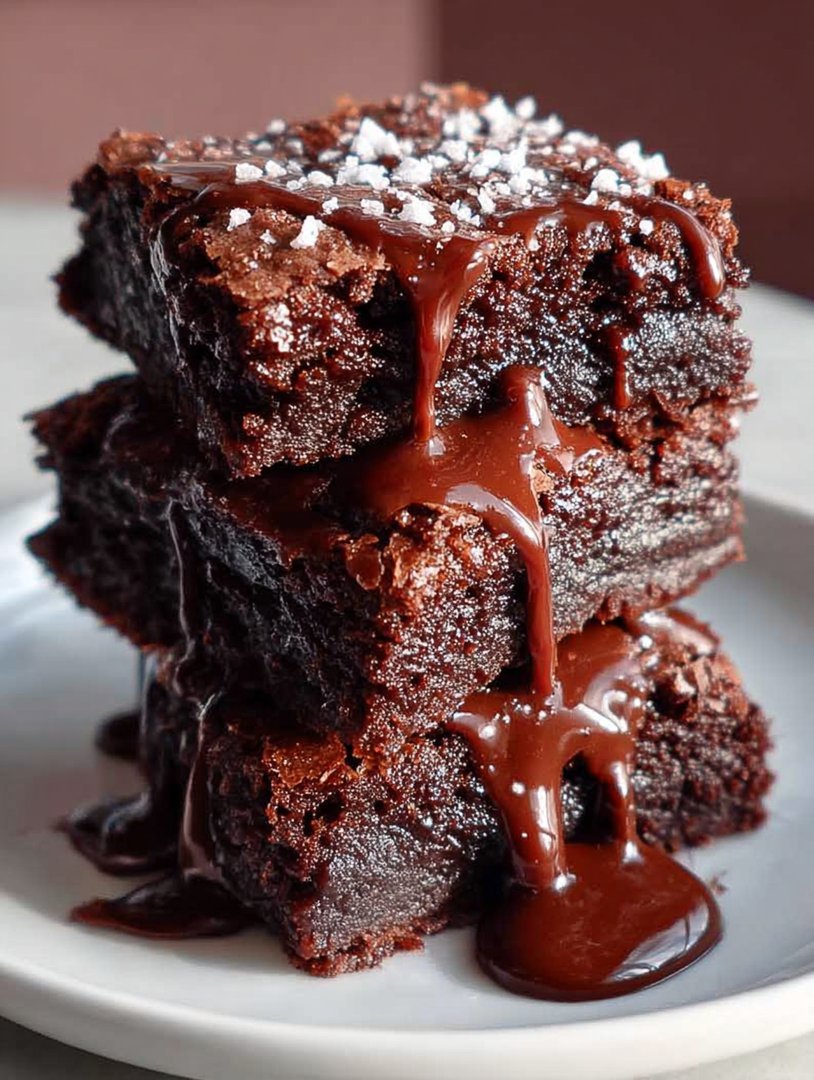
I remember baking these brownies with my grandmother, who would always suggest adding a pinch of sea salt on top for that perfect contrast in flavor.
Frequently Asked Questions
What are Greek Yogurt Brownies?
Greek Yogurt Brownies are a healthier alternative to traditional brownies, using Greek yogurt to replace some of the fat. This results in a moist and fudgy texture while adding protein and reducing calories. They often include ingredients like cocoa powder, flour, and sweeteners.
Can I substitute Greek yogurt for other ingredients in brownie recipes?
Yes, Greek yogurt can replace butter or oil in brownie recipes, enhancing the nutritional profile. For best results, use plain, unsweetened Greek yogurt to maintain the intended flavor and consistency of the brownies. Adjustments may be needed for sweetness based on your yogurt choice.
Are Greek Yogurt Brownies gluten-free?
Greek Yogurt Brownies can be made gluten-free by substituting regular flour with a gluten-free flour blend. Always check ingredient labels to ensure they meet gluten-free standards. This allows those with gluten sensitivities to enjoy a delicious treat without compromising their dietary needs.
Conclusion for Greek Yogurt Brownies
Greek Yogurt Brownies offer a delicious way to satisfy your sweet tooth while maintaining a healthier diet. By incorporating Greek yogurt, these brownies provide added protein and moisture without excessive fat. Experimenting with ingredients can make them suitable for various dietary preferences. Enjoy guilt-free indulgence with every bite!
Print
Greek Yogurt Brownies
Indulge guilt-free with Greek Yogurt Brownies! Rich cocoa meets creamy yogurt for a moist, fudgy delight. Follow our easy steps for a delicious treat that’s surprisingly nutritious!
- Total Time: 35 minutes
- Yield: 4 servings
Ingredients
- Greek Yogurt
- Cocoa Powder
- Baking Powder
- Granulated Sugar
- Eggs
- Vanilla Powder
- Flour
- Nuts or Chocolate Chips (optional)
Instructions
- Step 1: Preheat Your Oven: Start by preheating your oven to 350°F (175°C). This ensures an even bake and helps your brownies rise beautifully. While that's heating up, grab an 8×8-inch baking dish and grease it lightly or line it with parchment paper for easy removal later on.
- Step 2: Mix the Wet Ingredients: In a large mixing bowl, combine the Greek yogurt, granulated sugar, eggs, and vanilla powder. Whisk these ingredients together until they are smooth and creamy. The yogurt should blend seamlessly with the other wet ingredients, creating a luscious base full of potential!
- Step 3: Incorporate Dry Ingredients: Add in the cocoa powder, flour, baking powder, and a pinch of salt to the wet mixture. Stir until just combined; be careful not to overmix! You want those ingredients to come together harmoniously without losing their fluffy texture. If you're adding nuts or chocolate chips, fold them in gently at this stage.
- Step 4: Bake to Perfection: Pour the brownie batter into your prepared baking dish and spread it evenly. Bake in your preheated oven for approximately 25-30 minutes. To check if they're done, insert a toothpick into the center—if it comes out clean or with just a few moist crumbs attached, they’re ready!
- Step 5: Cool and Slice: Once baked, remove your brownies from the oven and let them cool in the pan on a wire rack. After about 10-15 minutes, transfer them to a cutting board and slice them into squares. This cooling step is crucial as it allows the flavors to settle and makes slicing easier without crumbling!
Notes
- Store your Greek yogurt brownies in an airtight container at room temperature for up to 3 days, or refrigerate them for longer freshness.
- When reheating, warm individual brownies in the microwave for about 10-15 seconds to keep them soft and fudgy, perfect for enjoying with a scoop of ice cream.
- For an extra touch, serve the brownies warm topped with whipped cream or a drizzle of chocolate sauce, and sprinkle some chopped nuts for added crunch.
- To enhance the flavor, try using high-quality cocoa powder and don't overmix the batter; this keeps your brownies light and fluffy while showcasing that rich chocolate taste.
- Prep Time: 15 minutes
- Cook Time: 20 minutes
- Method: Stovetop
- Cuisine: American


Leave a Comment