

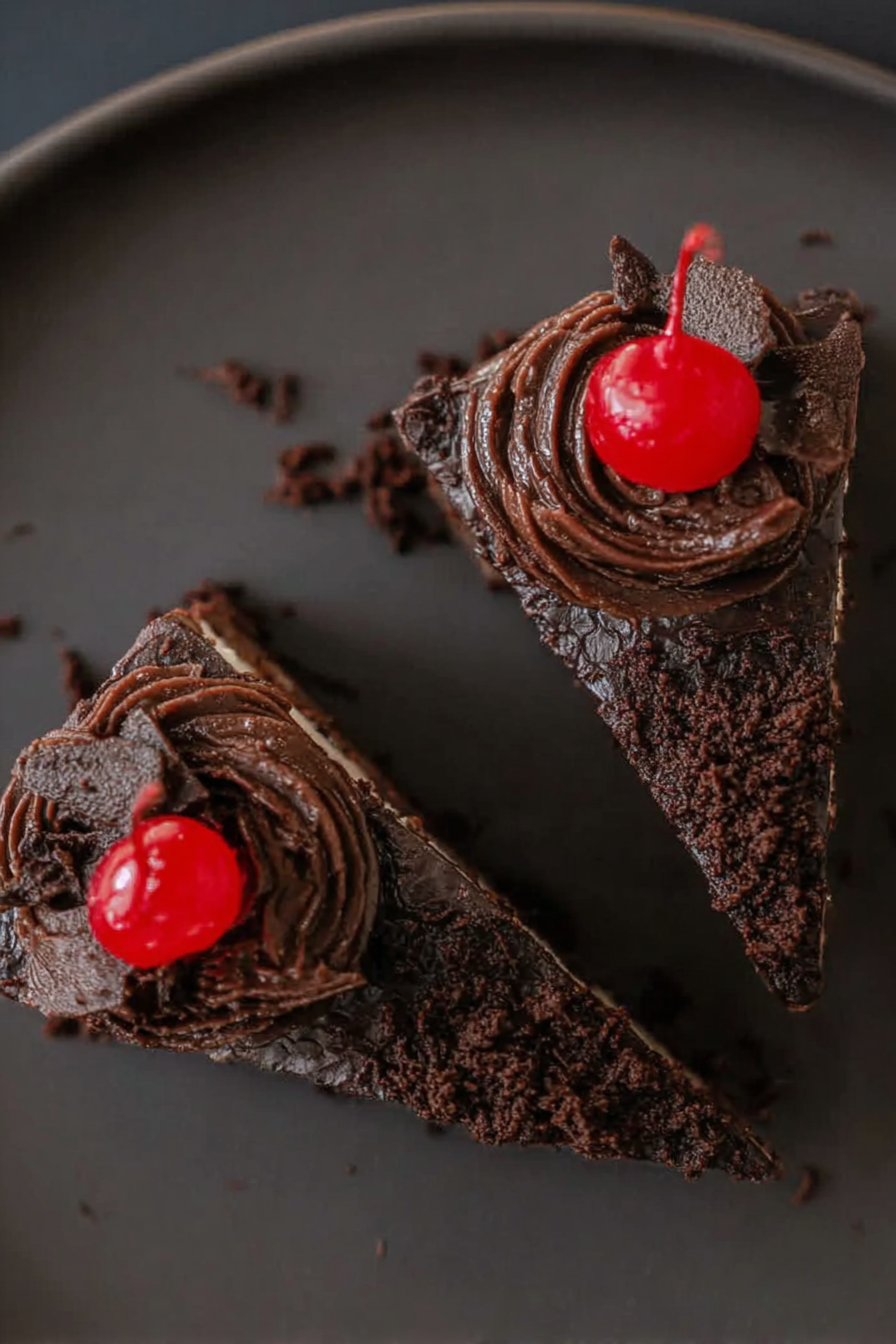
Imagine sinking your fork into a velvety, rich dessert where the deep, dark allure of chocolate meets the bright, tangy burst of cherries, all nestled atop a creamy cheesecake base. This Chocolate Cherry Cheesecake is not just dessert; it’s a symphony of flavors that will dance across your palate.
This decadent delight is the perfect centerpiece for any celebration or a well-deserved treat on a cozy evening. It promises a captivating experience, where each bite is a luxurious escape into a world of blissful indulgence. Get ready to impress with this incredibly delicious and surprisingly easy-to-make dessert!
Here are a few reasons why you absolutely *need* this Chocolate Cherry Cheesecake in your life:
- It’s easier to make than you think, turning you into a dessert superstar with minimal effort and maximum flavor.
- The intense chocolate, tart cherry, and creamy cheesecake flavors combine for an unforgettable taste sensation that will leave everyone wanting more.
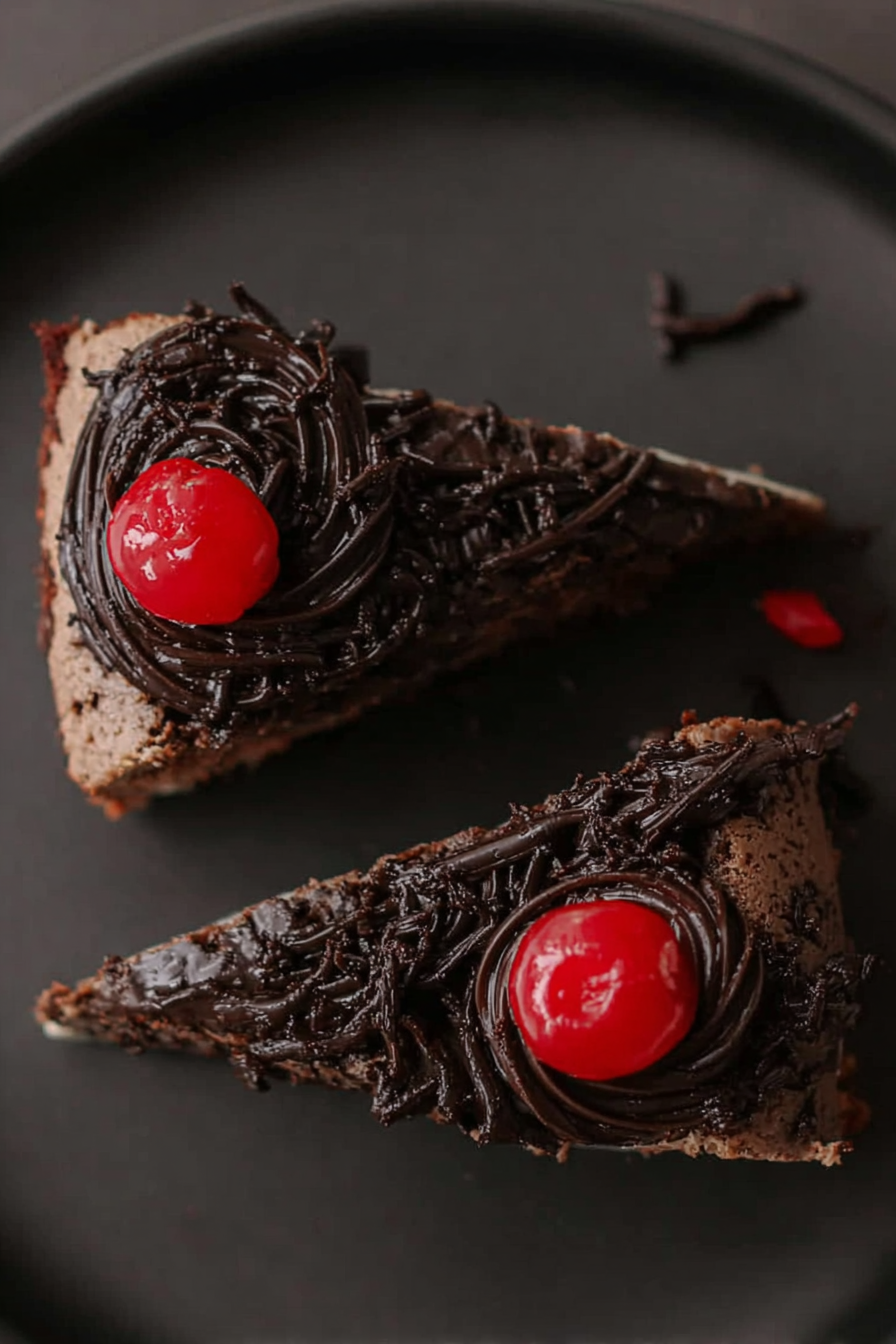
- Its stunning layers of contrasting colors make it a visual masterpiece, perfect for wowing guests at any special occasion.
- Adaptable to any gathering, this cheesecake can be made ahead of time, ensuring a stress-free dessert option for all your entertaining needs.
Ingredients for Chocolate Cherry Cheesecake
Here’s what you’ll need to make this delicious dish:
The full ingredients list, including measurements, is provided in the recipe card directly below.
How to Make Chocolate Cherry Cheesecake
Follow these simple steps to prepare this delicious dish:
Step 1: Crush the Cookies
Place the chocolate cookies into a food processor and pulse until you have fine crumbs. Alternatively, place them in a ziplock bag and crush them with a rolling pin. The finer the crumbs, the better the crust!
Step 2: Prepare the Crust
Melt the unsalted butter and combine it with the cookie crumbs in a medium bowl. Press the mixture firmly into the bottom of a springform pan. Make sure it’s evenly distributed for a sturdy base.
Step 3: Make the Cheesecake Filling
In a large bowl, beat the softened cream cheese and granulated sugar together until smooth and creamy. This step is crucial for a lump-free cheesecake.
Step 4: Add Eggs and Flavorings
Beat in the eggs one at a time, followed by the Alcohol-free vanilla extract and sour cream. Mix in the cocoa powder until everything is well combined. Be careful not to overmix; this can lead to cracks.
Step 5: Assemble and Bake
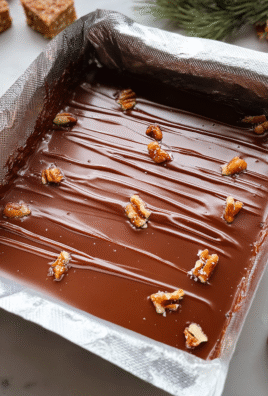
Pour half of the cheesecake filling over the prepared crust. Spoon the cherry pie filling evenly over the cheesecake layer. Pour the remaining cheesecake filling on top. Bake in a preheated oven at 325°F (160°C) for 60-70 minutes, or until the center is just slightly jiggly.
Step 6: Cool and Chill
Turn off the oven and let the cheesecake cool inside with the door slightly ajar for an hour. This helps prevent cracking. Then, transfer it to the refrigerator and chill for at least 4 hours, or preferably overnight, before serving.
Step 7: Garnish and Serve
Before serving, run a knife around the edge of the springform pan to loosen the cheesecake. Remove the sides of the pan and garnish with chocolate shavings. Slice and serve this decadent Chocolate Cherry Cheesecake to the delight of your family and friends!
Perfecting the Cooking Process
For a seamless experience, start by preparing the cheesecake base and chilling it. While it sets, tackle the cherry topping. Finally, blend your cheesecake filling. This organized approach ensures each element is ready when needed, resulting in a perfectly layered masterpiece.
Add Your Touch
Feel free to swap out regular cherries for Rainier cherries for a sweeter, less tart bite. A dash of alcohol-free almond extract in the cheesecake filling can also amplify the cherry flavor. Consider adding a swirl of cherry preserves into the batter before baking for an extra layer of deliciousness.
Storing & Reheating
Keep your decadent creation fresh by storing it in an airtight container in the refrigerator for up to five days. While reheating isn’t recommended, a slice straight from the fridge offers a divine, cool treat. Enjoy every creamy, cherry-infused bite!
- To avoid a cracked cheesecake top, bake it in a water bath. The steam helps maintain even moisture and prevents it from drying out.
- Use room-temperature ingredients for the cheesecake filling to ensure a smooth, lump-free batter that bakes evenly.
- Chill the cheesecake for at least four hours, or preferably overnight, to allow the flavors to meld and the texture to set perfectly.
(Personal anecdote formated as paragraph subheading)
My aunt once declared my Chocolate Cherry Cheesecake better than any bakery version, which, let’s be honest, is the highest compliment a home baker can receive. It fueled my baking passion for years!
The quest for the perfect **Chocolate Cherry Cheesecake** is a noble one, filled with creamy dreams and the tart-sweet promise of ruby-red cherries. It’s a dessert that whispers of indulgence, a culinary hug on a plate. But let’s be real, the journey isn’t always smooth. We’ve all been there – the cracked cheesecake top, the gritty filling, the cherry topping that resembles more of a sad, watery soup than a vibrant burst of flavor. Fear not, fellow dessert enthusiasts! This recipe isn’t just a set of instructions; it’s a carefully crafted roadmap to **Chocolate Cherry Cheesecake** nirvana, complete with tips, tricks, and a healthy dose of humor to get you through even the stickiest of situations.
Why Chocolate Cherry Cheesecake is the Ultimate Indulgence
Let’s face it, we all deserve a little decadence in our lives. And what screams decadence louder than a **Chocolate Cherry Cheesecake**? It’s the marriage of two iconic desserts: the rich, creamy allure of cheesecake and the playful, fruity tang of cherries, all elevated with a hint of chocolate. The combination is simply irresistible. It’s the kind of dessert that makes you want to close your eyes, savor every bite, and maybe even hum a little tune of pure happiness. Plus, it looks absolutely stunning. Picture this: a deep chocolate crust cradling a cloud of creamy cheesecake, studded with glistening cherries, all begging to be devoured. It’s a showstopper, a conversation starter, and guaranteed to impress even the most discerning palate.
Gathering Your Arsenal: The Ingredients List
Now, before we dive into the nitty-gritty, let’s gather our troops. Here’s what you’ll need to create this masterpiece:
- **For the Chocolate Crust:** Chocolate wafer cookies (because who doesn’t love a good chocolate base?), melted butter (because butter makes everything better), and a pinch of salt (to balance the sweetness).
- **For the Cheesecake Filling:** Cream cheese (the star of the show, obviously), granulated sugar (for sweetness), eggs (to bind it all together), sour cream (for tang and moisture), Alcohol-free vanilla extract (for that classic cheesecake aroma), and a secret ingredient: a touch of alcohol-free almond extract (trust me on this one, it elevates the cherry flavor).
- **For the Cherry Topping:** Fresh or frozen cherries (depending on the season), granulated sugar (for sweetness), cornstarch (to thicken the sauce), lemon juice (for brightness), and a splash of cherry juice (to intensify the cherry flavor without resorting to alcohol).
Remember, quality ingredients equal quality results. Don’t skimp on the good stuff – your taste buds will thank you.
Conquering the Chocolate Crust: A Simple Symphony
First, let’s tackle the chocolate crust. This is the foundation upon which our cheesecake dreams will be built. Pulse those chocolate wafer cookies in a food processor until they resemble fine crumbs. If you don’t have a food processor, a zip-top bag and a rolling pin will do the trick. Just unleash your inner frustration and crush those cookies into oblivion! Mix the crumbs with melted butter and a pinch of salt. Press the mixture firmly into the bottom of a springform pan. Pro-tip: use the bottom of a measuring cup to create an even, compact crust. Pre-bake the crust for about 10 minutes to set it. This prevents it from becoming soggy later on.
Crafting the Creamy Dream: The Cheesecake Filling
Now for the heart of the matter: the cheesecake filling. This is where the magic happens. Beat the cream cheese until it’s smooth and creamy. This is crucial – any lumps will translate into a gritty texture in the final product. Gradually add the sugar and continue beating until well combined. Incorporate the eggs one at a time, mixing until just combined. Don’t overmix – this can incorporate too much air and cause the cheesecake to puff up and crack during baking. Stir in the sour cream, Alcohol-free vanilla extract, and alcohol-free almond extract. Gently pour the filling over the cooled chocolate crust.
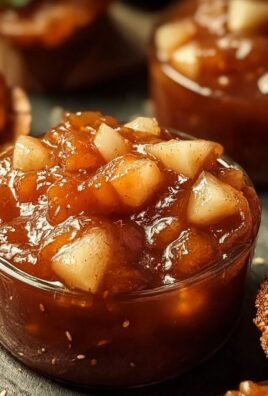
Taming the Tartness: The Cherry Topping Tango
No **Chocolate Cherry Cheesecake** is complete without a luscious cherry topping. In a saucepan, combine the cherries, sugar, cornstarch, lemon juice, and cherry juice. Cook over medium heat, stirring constantly, until the mixture thickens and the cherries soften. This should take about 5-7 minutes. Allow the cherry topping to cool slightly before spooning it over the cheesecake. This prevents the topping from sinking into the filling.
The Water Bath Revelation: A Secret Weapon
Now for the secret weapon: the water bath. This is the key to a perfectly smooth, crack-free cheesecake. Wrap the bottom of the springform pan tightly in aluminum foil. Place the pan in a larger baking pan and add hot water to the larger pan until it reaches about halfway up the sides of the springform pan. Bake in a preheated oven until the cheesecake is set around the edges but still slightly jiggly in the center. The jiggle is your friend – it means the cheesecake is perfectly moist and creamy.
The Chill Factor: Patience is a Virtue
Once baked, turn off the oven and crack the door slightly. Allow the cheesecake to cool in the oven for an hour. This prevents it from shocking and cracking. Remove the cheesecake from the water bath and let it cool completely at room temperature. Refrigerate for at least four hours, or preferably overnight. This allows the flavors to meld and the texture to set perfectly.
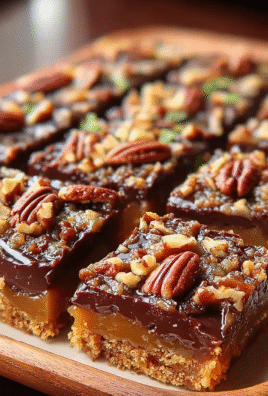
Unveiling the Masterpiece: Presentation is Key
Before serving, gently run a thin knife around the edges of the cheesecake to loosen it from the pan. Carefully remove the sides of the springform pan. Garnish with extra cherries, a sprinkle of chocolate shavings, or a dusting of powdered sugar. Serve chilled and prepare for the accolades to roll in.
This **Chocolate Cherry Cheesecake** isn’t just a dessert; it’s an experience. It’s a testament to the power of patience, the beauty of balance, and the pure joy of indulgence. So go forth, bake with confidence, and prepare to wow your friends and family with this showstopping creation. And remember, even if you encounter a few bumps along the way, a little bit of love (and a generous dollop of cherry topping) can fix anything!
Conclusion for Chocolate Cherry Cheesecake :
This Chocolate Cherry Cheesecake is a showstopper that’s surprisingly simple to create. The rich chocolate base, combined with the sweet-tart cherries, makes for a flavor explosion that’s hard to resist. Don’t be intimidated by the water bath; it’s your secret weapon for a creamy, crack-free cheesecake. Whether you’re baking for a special occasion or just craving a little indulgence, this cheesecake will deliver smiles with every bite. Prepare to become a cheesecake hero!
Print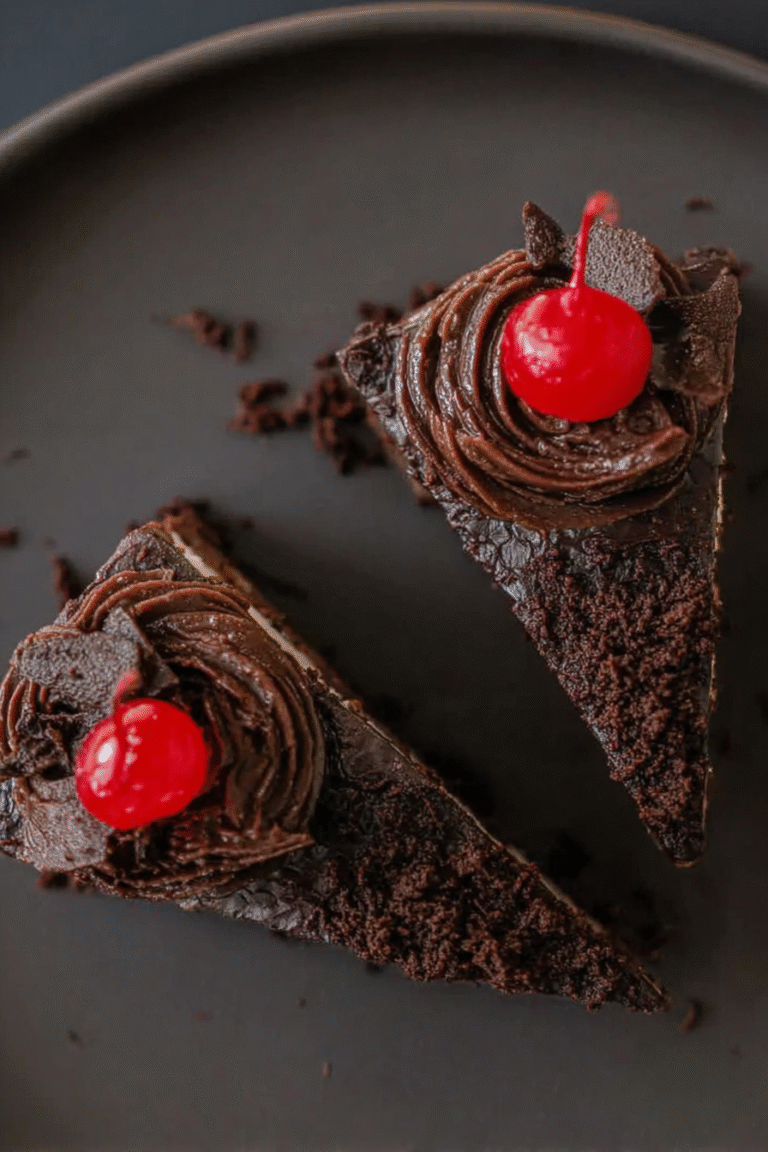
Chocolate Cherry Cheesecake
Delicious chocolate cherry cheesecake recipe with detailed instructions and nutritional information.
- Total Time: 35 minutes
- Yield: 4 servings 1x
Ingredients
- Graham crackers crumbs 1 1/2 cups
- Unsalted butter, melted 6 tablespoons
- Cream cheese, softened 24 ounces
- Granulated sugar 1 cup
- Large eggs 3
- Sour cream 1/2 cup
- Vanilla extract 1 teaspoon
- Canned cherry pie filling 1 (21 ounce) can
Instructions
- Step 1: Preheat oven to 350°F (175°C). In a bowl, combine graham cracker crumbs and melted butter. Press mixture into the bottom of a 9-inch springform pan.
- Step 2: In a large bowl, beat cream cheese and sugar until smooth and creamy. Add eggs one at a time, beating well after each addition.
- Step 3: Stir in sour cream and vanilla extract. Pour batter over graham cracker crust.
- Step 4: Bake for 55-65 minutes, or until center is just slightly jiggly. Turn off oven and let cheesecake cool in oven with door ajar for 1 hour.
- Step 5: Remove from oven and let cool completely. Spread cherry pie filling over the top of the cheesecake. Refrigerate for at least 4 hours before serving.
Notes
- For the best flavor, store leftover cheesecake tightly covered in the refrigerator for up to 3 days.
- If you want to warm a slice, try microwaving it for 10-15 seconds for a slightly softer texture.
- Garnish each slice with a dollop of whipped cream or a sprinkle of chocolate shavings for an extra touch.
- To prevent cracks, avoid overbaking; a slight jiggle in the center after baking is ideal for a creamy cheesecake.
- Prep Time: 15 minutes
- Cook Time: 20 minutes
- Method: Stovetop
- Cuisine: American
FAQs :
Can I use frozen cherries in this Chocolate Cherry Cheesecake recipe?
Absolutely! Frozen cherries work beautifully in this cheesecake. Just make sure to thaw them completely and drain any excess juice before adding them to the filling or topping. This will prevent your cheesecake from becoming too watery. Nobody wants a soggy cheesecake, unless you’re into that sort of thing (no judgment here!). Fresh cherries are lovely when they’re in season, but frozen ones are a fantastic option year-round for this delicious cherry cheesecake. They bring that sweet and tart cherry flavor that complements the rich chocolate perfectly.
How do I prevent my Chocolate Cherry Cheesecake from cracking?
Cracking can be a common cheesecake conundrum, but fear not! The key is gentle baking. Bake your cheesecake in a water bath; this creates a humid environment that helps the cheesecake bake evenly and prevents rapid temperature changes that lead to cracks. Also, avoid opening the oven door during baking, as temperature fluctuations are the enemy. Once it’s done, let the cheesecake cool gradually in the oven with the door slightly ajar. Patience is a virtue, especially when a perfect, crack-free chocolate delight is the reward.
What’s the best way to store leftover cheesecake?
Storing leftover cheesecake is easy peasy! Simply cover it tightly with plastic wrap or place it in an airtight container. Store it in the refrigerator, where it will happily keep for up to five days. If you want to extend its life, you can freeze individual slices for up to two months. Just wrap them well to prevent freezer burn. When you’re ready to enjoy a slice, thaw it in the refrigerator overnight. That cold cheesecake will be as delightful as the day you made it.
Can I make this Chocolate Cherry Cheesecake ahead of time?
You sure can! In fact, making this cheesecake ahead of time is highly recommended. It allows the flavors to meld together beautifully, resulting in an even more decadent dessert. Bake the cheesecake one or two days in advance, let it cool completely, and then store it in the refrigerator, well covered. The chilling time also helps the cheesecake to set properly, making it easier to slice and serve. Planning ahead? You’re basically a cheesecake genius!
Leave a Comment