

Ah, Pineapple Pie! Just the name conjures up images of sunny skies and the sweet, tangy taste of paradise. This isn’t just dessert; it’s a mini-vacation for your taste buds, promising a delightful escape from the ordinary.
Imagine sinking your fork into a slice of golden, flaky crust, unveiling a luscious, juicy pineapple filling. The aroma alone is enough to make your day brighter. Perfect for summer picnics or a cozy night in, this pie is a guaranteed crowd-pleaser.
- This **Pineapple Pie Recipe** is incredibly easy to make, perfect for bakers of all skill levels.
- The flavor profile is a delightful balance of sweet and tart, guaranteed to tantalize your senses.
- Its vibrant golden color makes it a stunning centerpiece for any table, sure to impress your guests.
- Enjoy it warm with a scoop of vanilla ice cream or chilled for a refreshing treat any time of the day.
Ingredients for Pineapple Pie Recipe
Here’s what you’ll need to make this delicious dish:
The full ingredients list, including measurements, is provided in the recipe card directly below.
How to Make Pineapple Pie Recipe
Follow these simple steps to prepare this delicious dish:
Step 1: Prepare the Pie Crust
In a large bowl, whisk together the flour, sugar, and salt. Cut in the cold butter using a pastry blender or your fingers until the mixture resembles coarse crumbs. Gradually add ice water, mixing until the dough just comes together. Form the dough into a disc, wrap in plastic wrap, and chill for at least 30 minutes.
Step 2: Make the Pineapple Filling
In a saucepan, combine the pineapple chunks, granulated sugar, cornstarch, lemon juice, brown sugar, and nutmeg. Cook over medium heat, stirring constantly, until the mixture thickens and bubbles. Remove from heat and let cool slightly.
Step 3: Assemble the Pie
Preheat oven to 375°F (190°C). On a lightly floured surface, roll out the chilled pie crust to a 12-inch circle. Transfer the crust to a 9-inch pie plate. Trim and crimp the edges.
Step 4: Fill and Bake
Pour the pineapple filling into the prepared pie crust. If desired, create a lattice top with the remaining crust. Brush the crust with milk or an egg wash for a golden finish.
Step 5: Bake the Pie
Bake for 45-50 minutes, or until the crust is golden brown and the filling is bubbly. If the crust starts to brown too quickly, cover the edges with foil.
Step 6: Cool and Serve
Let the pie cool completely on a wire rack before slicing and serving. This allows the filling to set properly. Enjoy warm or chilled. For an extra treat, top with a dollop of whipped cream or a scoop of vanilla ice cream.
Perfecting the Cooking Process

To achieve the most delightful pineapple pie experience, begin by preparing the crust. While it chills, tackle the filling. This sequence allows the crust to set properly, preventing a soggy bottom. Finish by assembling and baking, ensuring a golden, bubbly perfection.
Add Your Touch
Feeling adventurous? Swap the traditional crust for a buttery shortbread. For a tropical twist, sprinkle toasted coconut flakes on top before baking. A dash of cinnamon or nutmeg in the filling can also elevate the flavor profile. Let your imagination run wild!
Storing & Reheating
Leftover pineapple pie is a treasure! Store it in the refrigerator, covered, for up to three days. To reheat, gently warm individual slices in the oven at a low temperature or use a microwave for a quick, satisfying treat.
Tips for a Perfect Pineapple Pie
- Don’t overmix the crust dough; a gentle hand ensures a flaky, tender result, avoiding a tough, chewy texture that nobody wants.
- Blind bake the crust fully before adding the filling to guarantee a crisp, golden-brown base that stands up to the juicy pineapple.
- Allow the pie to cool completely before slicing; patience prevents a messy, runny filling and allows the flavors to meld together beautifully.
(Personal anecdote formated as paragraph subheading)
I once brought my pineapple pie to a summer barbecue. Everyone raved about it, with one friend declaring it tasted like sunshine and happiness. That’s when I knew this recipe was a keeper!
Let’s dive into the world of sweet and tangy goodness with the ultimate pineapple pie recipe. Forget everything you thought you knew about pies, because this one is a game-changer. We’re talking about a slice of paradise, a tropical vacation for your taste buds, all wrapped up in a flaky, golden crust. Are you ready to bake some magic? Because I sure am!
Why This Pineapple Pie Recipe is a Must-Try
Okay, friends, let’s be real. There are a million pie recipes out there. So, why should you spend your precious time making *this* pineapple pie recipe? Well, let me tell you. This isn’t your grandma’s overly sweet, gloppy pineapple pie (no offense to grandma, of course!). This is a modern, flavorful, and surprisingly easy take on a classic.
First, we’re using fresh pineapple. Yes, you *can* use canned, but trust me, the vibrant flavor of fresh pineapple makes all the difference. It’s like comparing a postcard to actually being on the beach – the real thing is always better.
Second, we’re balancing the sweetness with a hint of tanginess. A little bit of lemon juice and a secret ingredient (more on that later!) adds complexity and keeps the pie from being cloyingly sweet.
Finally, the crust. Oh, the crust! We’re going for a buttery, flaky, melt-in-your-mouth masterpiece. No soggy bottoms allowed! We’ll walk you through every step, ensuring pie crust success, even if you’ve always been a little intimidated by it.
Gathering Your Pineapple Pie Ingredients
Alright, let’s get down to business. Here’s what you’ll need to create this slice of tropical heaven. Don’t worry; most of these ingredients are pantry staples.
For the Crust:
- 2 1/2 cups all-purpose flour
- 1 teaspoon salt
- 1 cup (2 sticks) cold unsalted butter, cut into cubes
- 6-8 tablespoons ice water
For the Filling:
- 1 large fresh pineapple, peeled, cored, and diced
- 3/4 cup granulated sugar
- 1/4 cup cornstarch
- 1/4 teaspoon salt
- 1/4 cup pineapple juice
- 2 tablespoons lemon juice
- 2 tablespoons butter
- 1/4 teaspoon nutmeg
See? Nothing too crazy. Now, let’s talk about that secret ingredient. Drumroll, please… It’s a pinch of ground ginger! Just a tiny bit adds a warm, spicy note that complements the pineapple perfectly. Don’t skip it!
Crafting the Perfect Pie Crust
Okay, pie crust can be a little intimidating, but I promise, it’s not as hard as it looks. The key is to keep everything cold and to not overwork the dough.
1. In a large bowl, whisk together the flour and salt.
2. Add the cold butter cubes and use a pastry blender or your fingertips to cut the butter into the flour until the mixture resembles coarse crumbs. You should still see small pieces of butter.
3. Gradually add the ice water, one tablespoon at a time, mixing until the dough just comes together. Be careful not to add too much water.
4. Form the dough into a disc, wrap it in plastic wrap, and refrigerate for at least 30 minutes. This allows the gluten to relax, resulting in a more tender crust.
While the dough is chilling, let’s move on to the filling.
Whipping Up the Delicious Pineapple Filling
This is where the magic happens! Get ready for a burst of tropical flavor.
1. In a large saucepan, combine the diced pineapple, sugar, cornstarch, and salt.
2. Stir in the pineapple juice and lemon juice.
3. Cook over medium heat, stirring constantly, until the mixture thickens and bubbles. This should take about 5-7 minutes.
4. Remove from heat and stir in the butter and nutmeg. Let the filling cool slightly.
Pro Tip: Taste the filling and adjust the sweetness or tanginess to your liking. If your pineapple is particularly tart, you might want to add a little more sugar.
Assembling Your Pineapple Pie Masterpiece
Now for the fun part! Let’s put it all together.
1. Preheat your oven to 375°F (190°C).
2. On a lightly floured surface, roll out the chilled pie dough into a circle about 12 inches in diameter.
3. Carefully transfer the dough to a 9-inch pie plate. Trim and crimp the edges as desired. You can use a fork to create a simple crimped edge, or get fancy with a decorative design.
4. Pour the cooled pineapple filling into the pie crust.
5. If desired, you can create a lattice top with the remaining pie dough. Cut the dough into strips and weave them over the filling.
6. Brush the crust with an egg wash (optional) for a golden-brown finish.
7. Bake for 45-50 minutes, or until the crust is golden brown and the filling is bubbly. If the crust starts to brown too quickly, you can cover the edges with foil.
Cooling, Slicing, and Enjoying Your Pineapple Pie
This is the hardest part – waiting! But trust me, it’s worth it.
1. Let the pie cool completely on a wire rack before slicing. This allows the filling to set properly and prevents a messy pie.
2. Once cooled, slice and serve. You can enjoy it plain, or top it with a dollop of whipped cream or a scoop of vanilla ice cream.
Congratulations! You’ve just made the most delicious pineapple pie ever. Pat yourself on the back and enjoy every bite!
Troubleshooting Your Pineapple Pie
Sometimes, things don’t go exactly as planned. But don’t worry, I’m here to help!
- Soggy Crust: Make sure you’re blind baking the crust properly. This means baking it before adding the filling. You can also try using a pie shield to prevent the edges from browning too quickly.
- Runny Filling: This can happen if you don’t cook the filling long enough or if your pineapple is very juicy. Make sure you’re cooking the filling until it thickens and bubbles. You can also add a little more cornstarch if needed.
- Burnt Crust: Cover the edges of the crust with foil if they start to brown too quickly.
Remember, baking is a learning process. Don’t be discouraged if your first pie isn’t perfect. Just keep practicing, and you’ll get there!
Variations on the Pineapple Pie Recipe
Want to get creative? Here are a few ideas to customize this pineapple pie recipe.
- Coconut Pineapple Pie: Add 1/2 cup of shredded coconut to the filling for a tropical twist.
- Spiced Pineapple Pie: Add 1/4 teaspoon of ground cinnamon or cardamom to the filling.
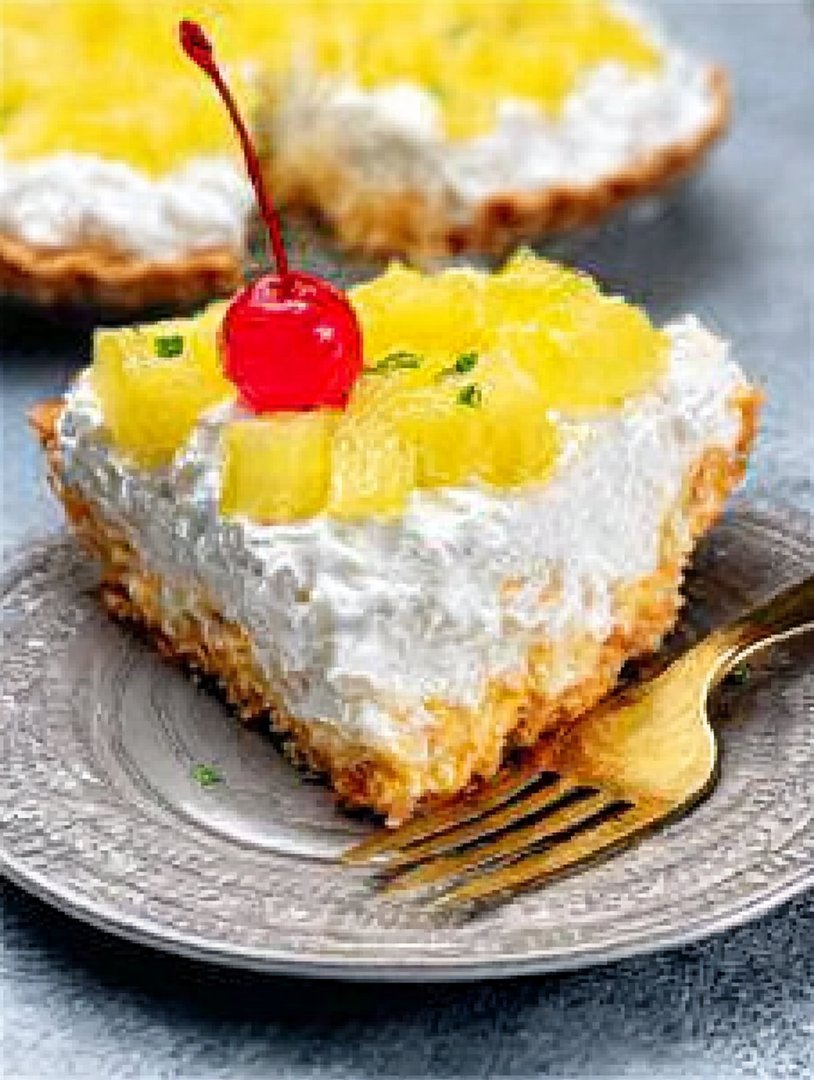
- Pineapple Cream Pie: Top the cooled pie with a layer of whipped cream and toasted coconut flakes.
The possibilities are endless! Feel free to experiment and create your own signature pineapple pie.
Pineapple Pie: A Slice of Sunshine for Any Occasion
Whether you’re baking for a special occasion or just want a delicious treat, this pineapple pie is sure to please. It’s perfect for summer barbecues, potlucks, or even a cozy night in. So go ahead, grab your ingredients, and start baking. You’re just a few steps away from a slice of tropical paradise! I hope you enjoy this **Pineapple Pie Recipe** as much as I do!
Conclusion for Pineapple Pie Recipe :
This pineapple pie recipe is your ticket to a sunny, delicious dessert experience. Remember, fresh pineapple gives the best flavor, and blind baking your crust is key to preventing sogginess. Don’t be afraid to experiment with different crusts, and feel free to freeze the pie for future enjoyment. So go ahead, grab your ingredients, and get ready to bake a pie that will transport you to a tropical paradise with every single bite.
Print
Pineapple Pie Recipe
Delicious pineapple pie recipe recipe with detailed instructions and nutritional information.
- Total Time: 35 minutes
- Yield: 4 servings 1x
Ingredients
- 1 (20 ounce) can crushed pineapple, undrained
- 1/2 cup granulated sugar
- 3 tablespoons cornstarch
- 1/4 teaspoon salt
- 1 cup heavy cream
- 1 teaspoon vanilla extract
- 1 baked 9-inch pie crust
- 1/4 cup shredded coconut, for topping (optional)
Instructions
- Step 1: In a medium saucepan, combine the undrained crushed pineapple, sugar, cornstarch, and salt.
- Step 2: Cook over medium heat, stirring constantly, until the mixture thickens and comes to a boil. Boil for 1 minute, stirring constantly.
- Step 3: Remove from heat and let cool slightly.
- Step 4: In a separate bowl, whip the heavy cream until stiff peaks form. Gently fold in the vanilla extract.
- Step 5: Pour the pineapple mixture into the baked pie crust. Spread the whipped cream evenly over the pineapple filling.
- Step 6: Sprinkle with shredded coconut, if desired. Refrigerate for at least 2 hours before serving.
Notes
- Store leftover pie in the refrigerator, covered, for up to 3 days to maintain its creamy texture.
- For a warm slice, gently reheat individual portions in the microwave for 15-20 seconds.
- Serve each slice with a dollop of extra whipped cream and a fresh pineapple wedge for a tropical touch.
- Don't skip the cooling step for the pineapple filling, as it will prevent the whipped cream topping from melting.
- Prep Time: 15 minutes
- Cook Time: 20 minutes
- Method: Stovetop
- Cuisine: American
FAQs :
Can I use fresh pineapple in this Pineapple Pie Recipe?
Absolutely! In fact, I encourage it. Canned pineapple is convenient, sure, but fresh pineapple brings a brightness and zing that canned just can’t match. Just be sure to peel, core, and dice it into small, even pieces. You might want to drain some of the excess juice before adding it to the filling to avoid a soggy bottom crust. Trust me, the extra effort is well worth it for that burst of tropical flavor in every bite of homemade pineapple pie. It’s like a tiny vacation for your taste buds!
How do I prevent the pie crust from getting soggy in this delicious Pineapple Pie?
Ah, the dreaded soggy bottom! Fear not, my friend. There are several tricks to combat this culinary catastrophe. First, blind bake your pie crust before adding the filling. This means baking the crust partially before adding any filling. Second, brush the bottom of the crust with a lightly beaten egg white before baking. This creates a barrier that helps prevent the filling’s moisture from seeping in. Finally, avoid overfilling the pie. A little less filling is better than a soggy mess.
What kind of pie crust works best for a tropical Pineapple Pie?
Honestly, it’s up to you! A classic flaky pie crust is always a winner, providing a nice contrast to the sweet and juicy pineapple filling. But if you’re feeling adventurous, try a graham cracker crust for a bit of a tropical twist. Or, for a truly decadent treat, consider a shortbread crust. It’s buttery and delicious. No matter which crust you choose, make sure it’s pre-baked or blind-baked for optimal results.
Can I freeze this homemade Pineapple Pie?
You bet you can! Pineapple pie freezes surprisingly well. After baking, allow the pie to cool completely. Then, wrap it tightly in plastic wrap, followed by a layer of aluminum foil. This helps prevent freezer burn. When you’re ready to enjoy it, thaw the pie in the refrigerator overnight. For best results, I recommend freezing the pie before baking. Then you can bake it directly from the freezer, adding about 15-20 minutes to the baking time.


Leave a Comment